Set up Header
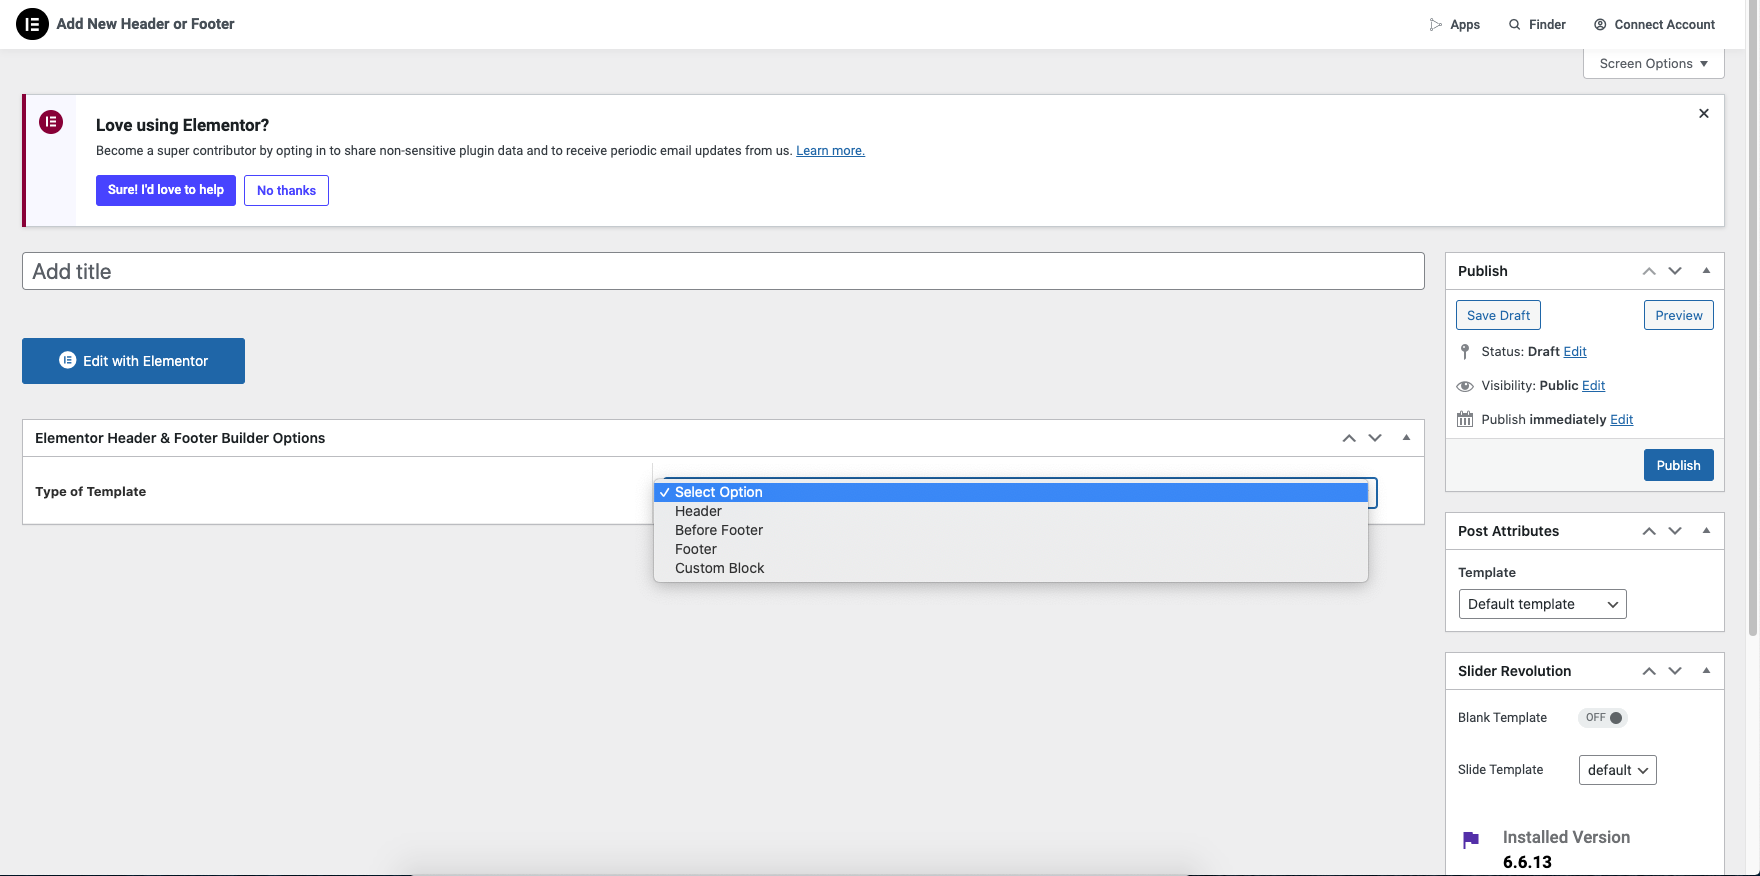
Step 1 - Access the WordPress Dashboard and navigate to Appearance. From there, select Header & Footer Builder, click Add New, and then Edit with Elementor.

The Elementor editor now can design the header and footer areas in any style or layout of your choice, including full-width options. This feature allows you to complete projects more efficiently compared to traditional methods. Furthermore, it is possible to save the header and footer templates for future use in any other project.
"Stop beating yourself up over lost hours designing headers. With Theme Builder, it's faster now." Learn How To Build Headers
Step 2 - To add a new header template, simply click on the 'Add New Template' option and select 'Header'.
Step 3 - Please provide a name for your header template and click on the 'Publish' button to save your changes.
Step 4 - Create a header completely from scratch.
Menu

Logo

Header Group

Language switcher & Currency


Menu Canvas Mobile

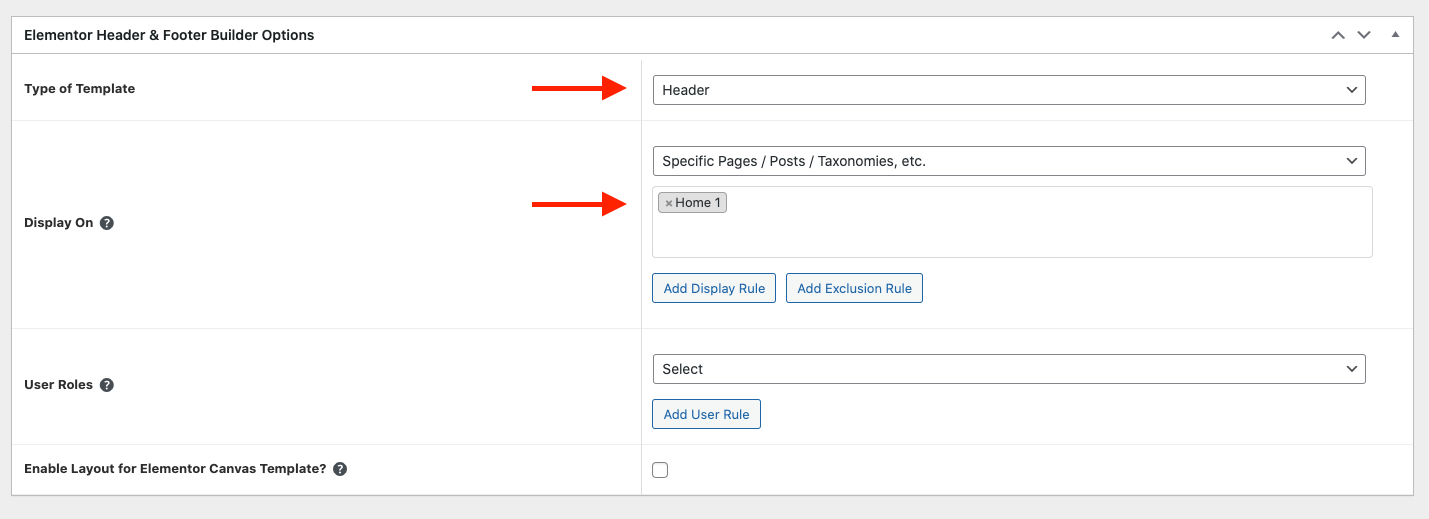
Step 5 - After making changes to the header design, click 'Update' and select Display Conditions.
Step 6 - Specify where your Header appears on your site by selecting 'Entire Site' or other conditions.
Step 7 - Save your work. Click "Save and Close".
Last updated