Color
Set primary color, second color, body, heading color for page
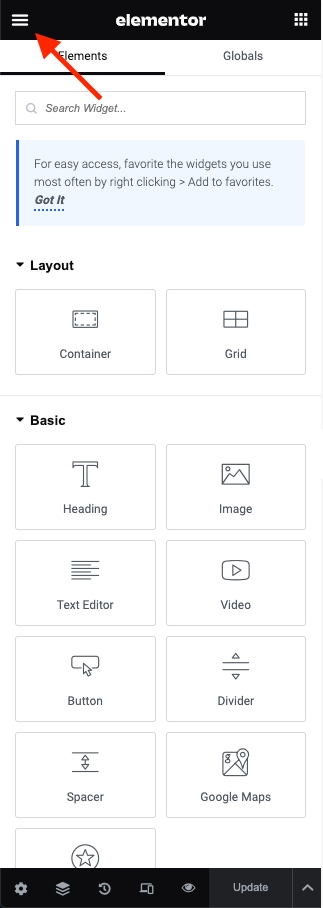
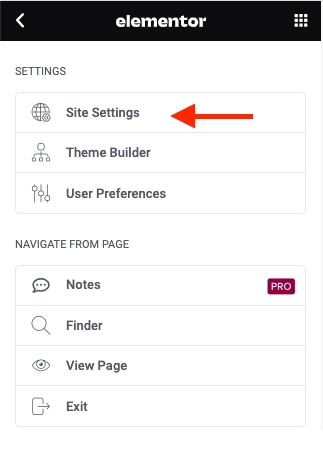
Step 1 - You can go to any Elementor edit page. In Settings, select Site Settings.

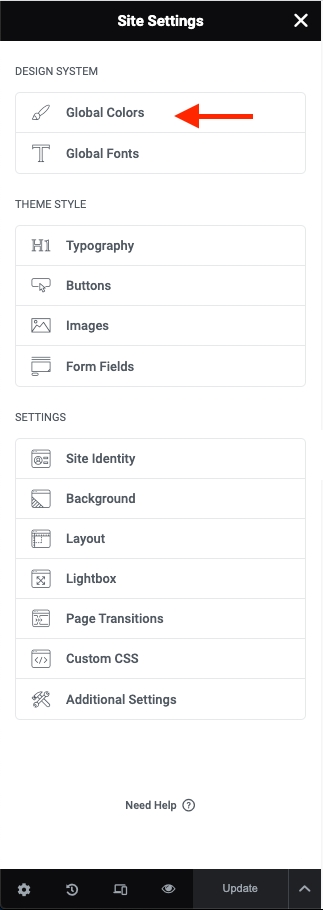
Step 2 - Site Settings -> Global Colors


Step 3 - Setting color for your site

The Primary Color is the main color of your site.
Regular: original color
Hover: color when hovering items
Example: Color Button, Color Link, and some other places.
2. Body Color is the color of the content text.
Example: Color content, description ... in a single blog, single product, page ...
3. The Heading Color is the color of the heading text.
Example: Color Title, Title Tab ...
4. Border Color is the color border block.
Example: border product block, border form input, and places with borders ...
5. Light Color is color light used for sub description.
Example: Color categories, color date time, color subtitle ...
Note: Color is sometimes used for many special places to see which colors apply correctly to what cases you can select and test.
Last updated