Zihom
  • Introduction
  • Support
  • GET STARTED
    • Requirements
    • What’s Included?
  • DOWNLOAD AND INSTALLATION
    • Download
    • Install Theme and Active
    • Plugins installation
    • One Click To Import Demo
  • CONTENT MANAGEMENT
    • Set up Menu
    • Set up Header
    • Set up Footer
    • Set up Homepage
    • Blog
  • SETTING
    • Elementor
      • Elementor Settings
      • Listing Search
      • Listing Type Banner
      • Listing Services
      • Listing Posts
    • Breadcrumb
    • Typography
    • Color
    • Button
    • Layout
    • Logo
    • Template
  • ULISTING PLUGIN
    • Ulisting Settings
      • Main Settings
      • Pages
      • Payment
        • PayPal Standard
        • Stripe
      • Agent & Agency
    • Listing Types
      • Custom Fields
      • Search Forms
      • Listing Order
      • Preview Item
      • Single Page
      • Inventory Layout
      • Submit Form
      • Quick View Settings
    • Listings - Property
      • Adding, Editing Listings
      • Build Single Layout
    • Wishlist
    • Image Map Pro Plugin
    • Pricing Plan
    • Submit listing
  • FAQS
    • How long time get Support
    • How To Submit Ticket
    • How to edit Agent/Agency profile
    • How to display the search box on the homepage
    • How to add/edit listing feature image
    • How to change the value "$" in the search form
  • RECOMMENDATION
    • Optimize WordPress
    • Translation
    • Changelog
Powered by GitBook
On this page
  1. ULISTING PLUGIN

Wishlist

PreviousBuild Single LayoutNextImage Map Pro Plugin

Last updated 2 years ago

Here you can use Wishlist short code.

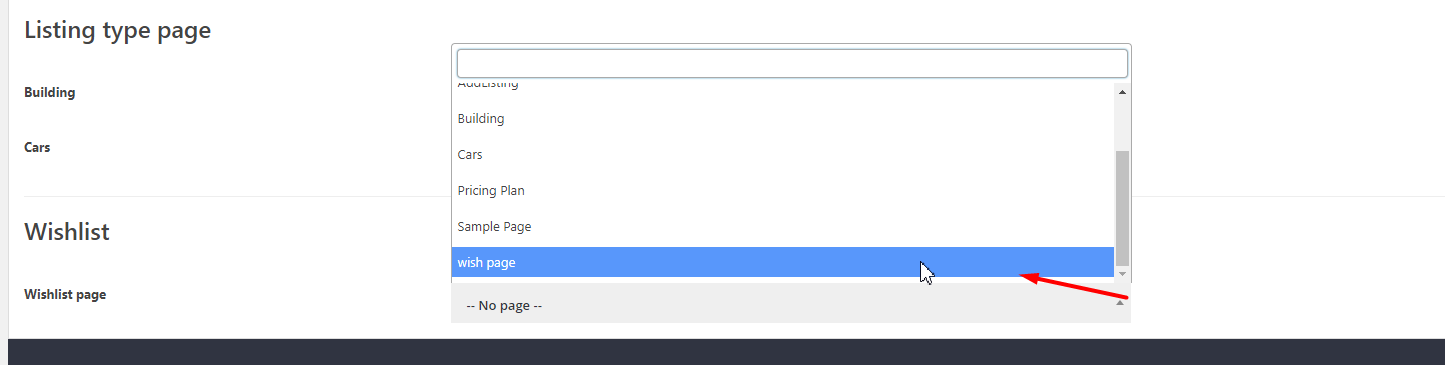
To work with the Wishlist, you need to follow a few steps. You need to select the page for this add-on. You can select page for this from Listing Types ▸ Settings ▸ Pages

Create a simple page or select from existing pages. Now I created a page and called it a wish page.

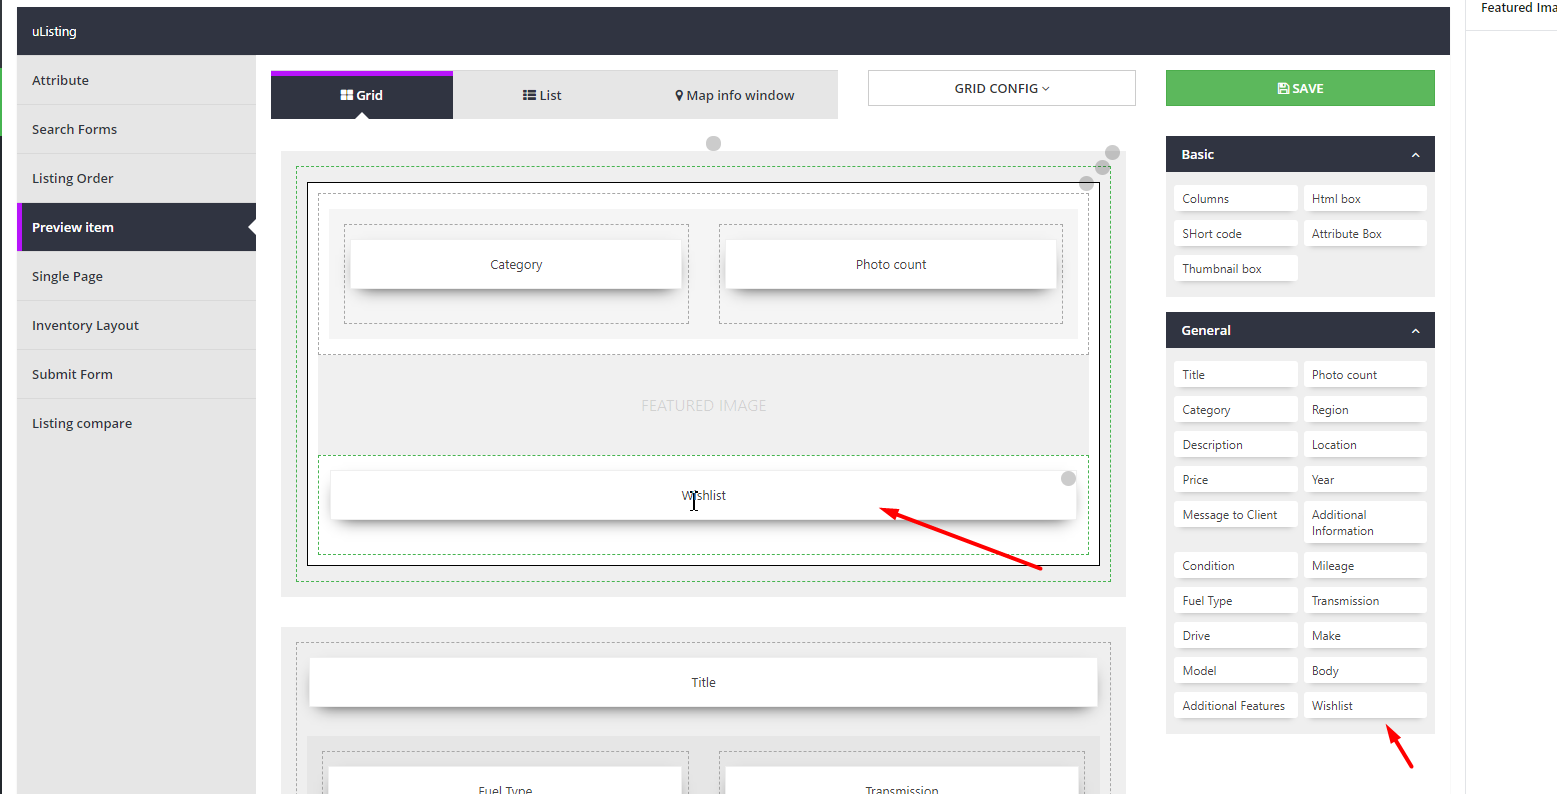
After this, save the changes. Then you need to add a Wishlist button to the grid or list to work with it. To add a button, open your Listing Type in my case these are cars.

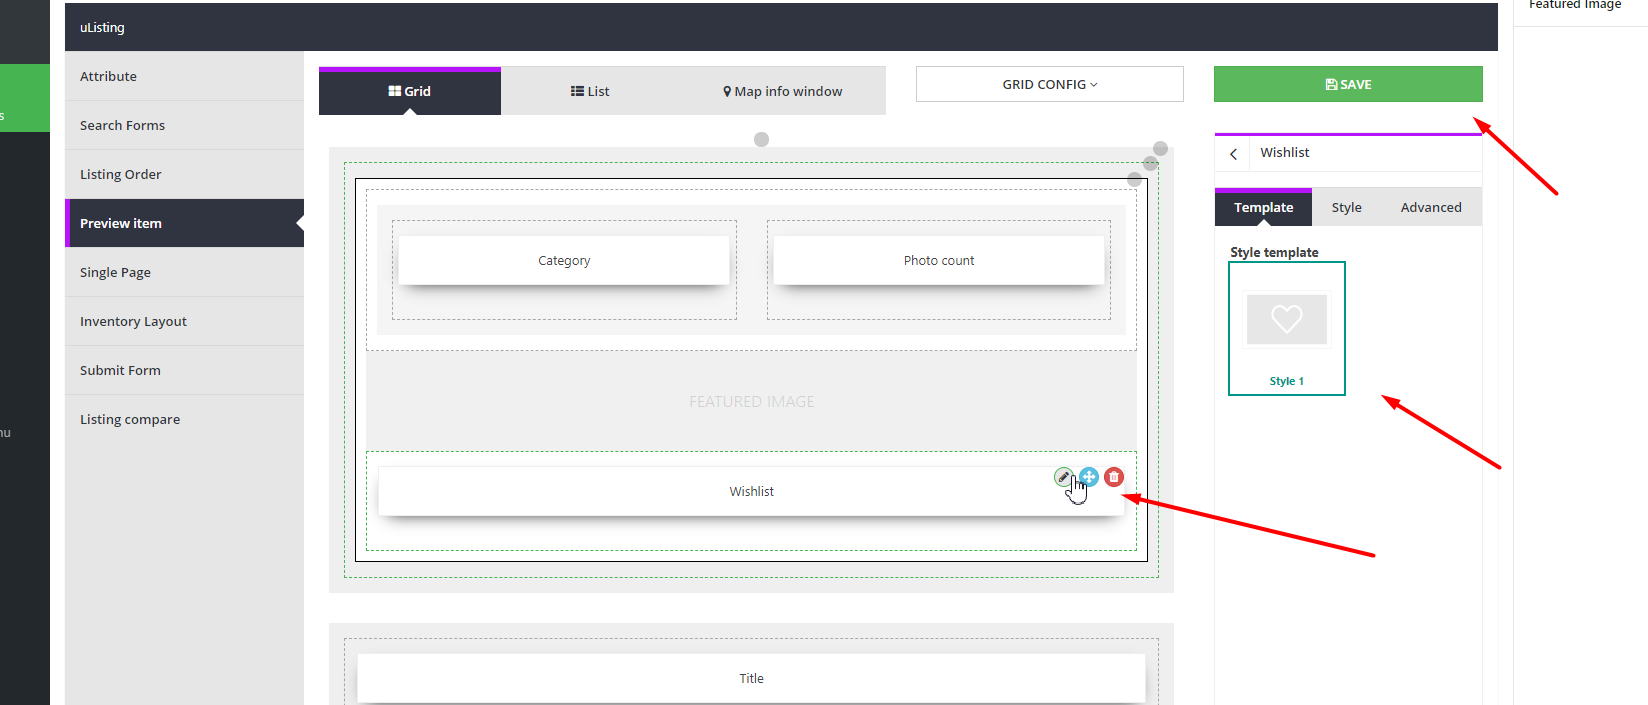
Select a style for this button, then click the Save button. Then check it out from the grid view. As you can see, the wishlist button appeared here. If you click on this button, it will add the lists to the wishlist.

Saved Searches

In addition, if you activate the wishlist addon, you will receive the Save Searchs feature. Let's use it. First, we need to put this button to display the search button after the filter

Then we will select the template style for this button, then click on the “Save” button.

Here you can see the added search filters.