Blog
Posts are individual pieces of content on a blog. Often referred to as blog posts or blogs, each post makes up the whole of your blog. This guide will show you how to create and manage posts
The block editor’s workspace
Create a new post
To add a new post to your blog, take the following steps:
Visit your dashboard.
Click on Posts on the left side.
Click on the “Add new post” button.
Give your post a title by typing it in the box at the top that says, “Add title“.
Start typing your post, or click on the + block inserter icon to add new content. Learn more about using the WordPress editor to create your post content.

The block editor opens by default in fullscreen mode.

The WordPress block editor workspace has three main sections:
the top toolbar
the sidebar with the post/page settings and the block settings
the content area.
The top toolbar
Before you publish your post or page, you will see the following options in the top toolbar.

After the publishing, you will see the following options.

The options corresponding to the numbers in the figure are as followings:
1. View Posts / View Pages
Shows the W icon by default, or the Site Icon if available. Click to exit the editor and back to the list of Posts or Pages in Administrator Screens. This will prompt you to save the changes or leave the post or page.
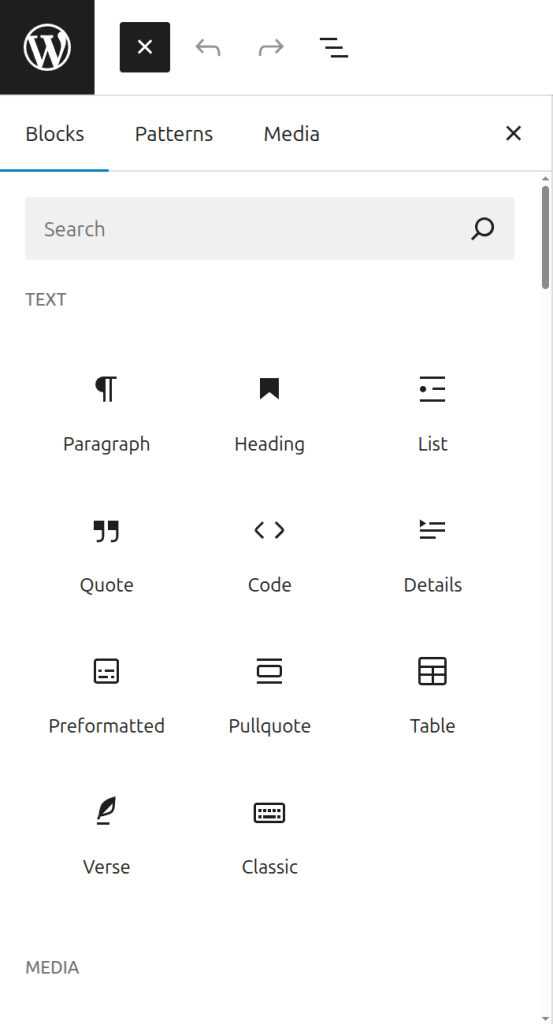
2. Toggle block inserter
Show or Hide block inserter that allows users to add block, patterns or media to your post or page.
3. Undo and Redo
Undo an action, or redo an undone action.
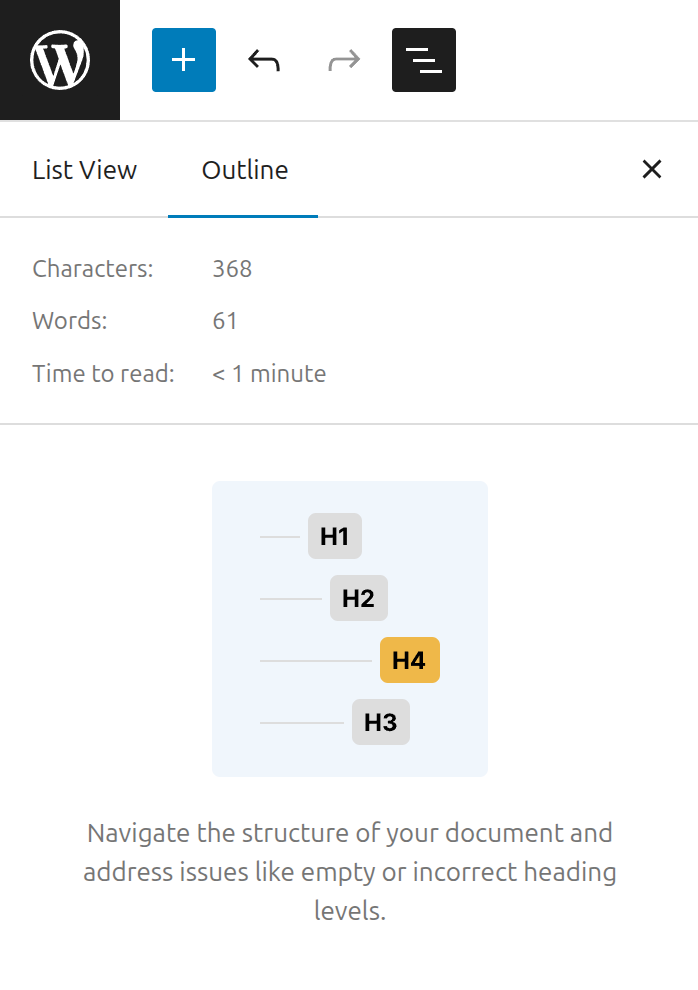
4. Document Overview
This option includes two tabs: List View and Outline.
List View: a list of all of the blocks that are on the post/page and easily navigate between the blocks on your post/page. Read more about List View tool.
Outline: Show the the post/page details including the character and word count, estimated time to read, the number of paragraphs and blocks on the post/page, and the document outline showing the headings and how they are structured on the post/page.
5. Edit with Elementor
Click the big Edit with Elementor button at the top of the page editor.
This will open the Elementor visual editor.
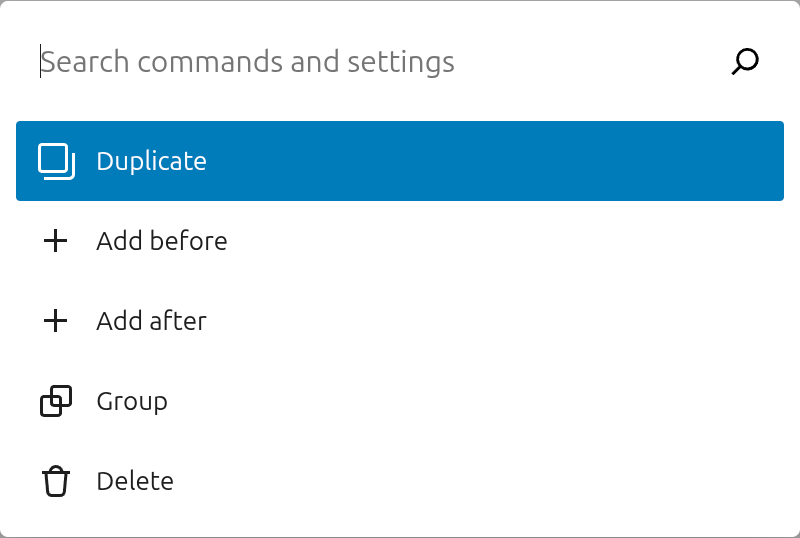
6. Command Palette
The Command Palette helps you streamline your workflow in the WordPress editor by providing a centralized location to work on various aspects of your site’s design. Click this field, or press Cmd+k on Mac or Ctrl+k on Windows. For more details about Command Palete, refer Editor Command Palette.
7. Save draft / Saved
Save a draft of your post or page without publishing it. If the post or page is saved successfully, the label changes to Saved. Once the post or page is published, this label is hidden.
8. View
View how your post/page looks on your site with the current changes applied. For more details, refer How to use the View feature.
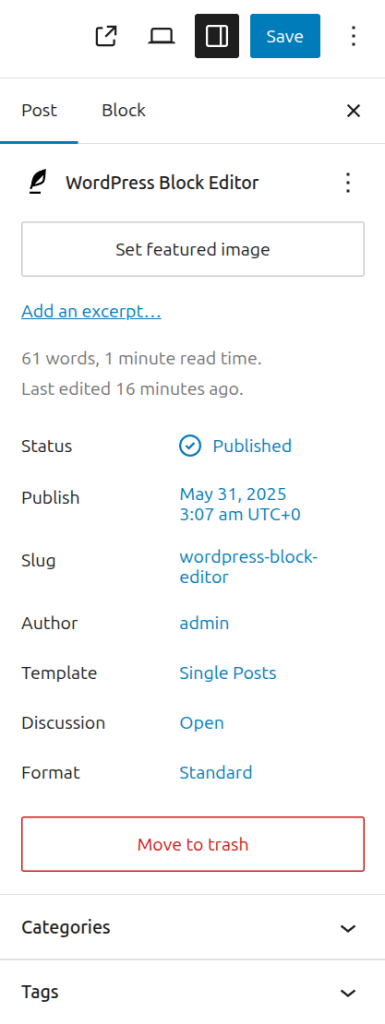
9. Settings
Show or hide the post/page sidebar settings and the block settings.
10. Publish
Make your post/page available publicly.
11. Options
Open up more options. See below section.
12. View Post / View Page
After you publish your post or page, you will see this option. Opens a new tab where you can see how your post/page looks on the frontend.
More options
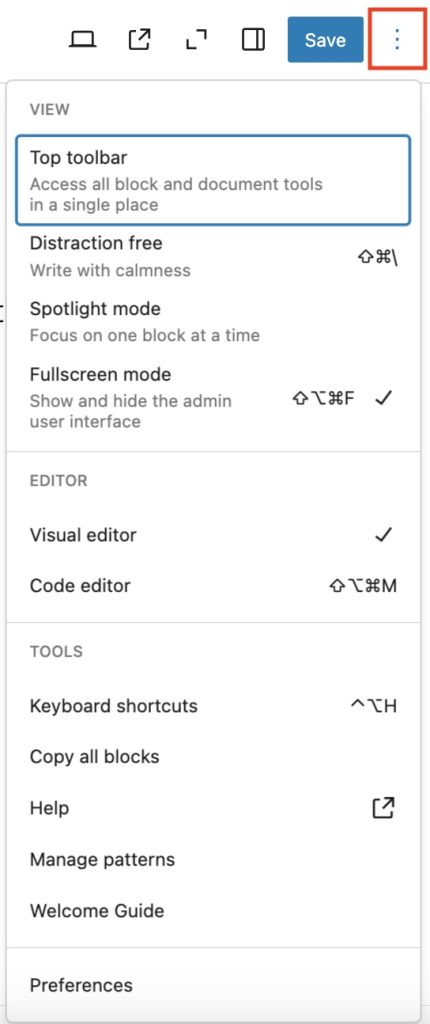
If you click the three dots icon in the top toolbar, additional options are displayed. Here, you can customize your editing experience using various options.
View
Top toolbar: Display or hide the top toolbar in the editor. When you enable this option, block toolbars are pinned to the top of the WordPress block editor (right under the top toolbar) instead of appearing directly above the block.
Distraction free: When enabled, this option allows you to focus just on your words by adjusting various pieces of the interface, including closing any open sidebars, removing various block inserter options, and the block toolbar. Read more here.
Spotlight mode: With spotlight mode, all blocks are greyed out except for the one you’re working on so that you can focus on a single block at a time.
Fullscreen mode: When enabled, this mode hides the Administration screens user interface.
Editor
By default, you will be in the Visual editor. Switch to the Code editor to view the entire post or page in the HTML code editor.
Tools
Here, you can manage patterns, learn keyboard shortcuts, visit the WordPress block editor welcome guide, copy all content on the post/page, or view additional support articles.
Preferences
Use the Preferences menu to:
Customize the editing experience.
Change how you interact with blocks and which blocks appear when searching for a block.
Show or hide individual panels from the post/page settings.
How to work in the WordPress block editor
You can select multiple blocks by holding shift+click as show in the video below:
You can select all blocks by pressing Cmd+A or Control+A as shown in the video below
When you select some text and press the back tick (`), it will turn the selected text inline code as show in the video below:
Uploading media from openverse category also uploads the item in media library.
Last updated